20 Apr How to Set Up an Energy Saver Light Switch
Are you tired of paying high electricity bills? Are you looking for a way to conserve energy while still enjoying the comfort of your home? One of the best ways to reduce your energy consumption is by using energy saver light switches. These switches are designed to help you save energy by turning off lights when they are not in use. In this article, we will show you how to set up an energy saver light switch in your home. The content is presented by Homeplanidea.com
Introduction to Energy Saver Light Switches
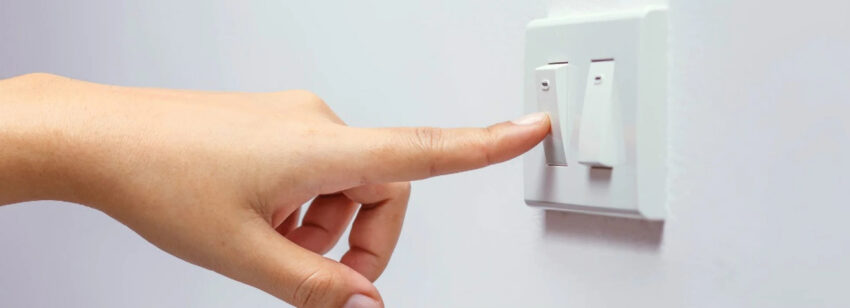
Image source: Google.com
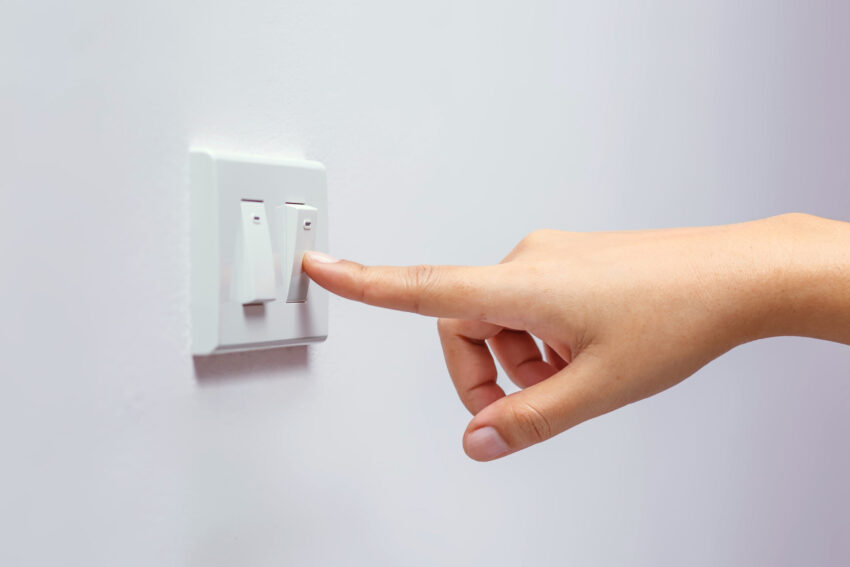
Energy saver light switches are designed to save energy by automatically turning off lights when they are not in use. These switches are perfect for homeowners who want to reduce their energy consumption and lower their electricity bills. Energy saver light switches are easy to install and can be used in any room in your home. Let’s read: Saving Energy Through Unplugging Appliances
Benefits of Energy Saver Light Switches
Using energy saver light switches in your home has many benefits. Some of the benefits include:
- Reduced energy consumption
- Lower electricity bills
- Increased lifespan of light bulbs
- Reduced carbon footprint
- Increased home safety
Tools and Materials Required
Before you can set up an energy saver light switch, you will need the following tools and materials:
- Energy saver light switch
- Screwdriver
- Wire stripper
- Electrical tape
- Wire nuts
Step-by-Step Guide to Set Up an Energy Saver Light Switch
Setting up an energy saver light switch is easy. Follow these simple steps:
Step 1: Turn Off the Power
Before you begin, turn off the power to the room where you will be installing the energy saver light switch. You can turn off the power by switching off the circuit breaker that powers the room.
Step 2: Remove the Old Switch
Use a screwdriver to remove the screws that hold the old switch in place. Once you have removed the screws, gently pull the switch away from the wall.
Step 3: Disconnect the Wires
Carefully disconnect the wires that are connected to the old switch. Make sure you take note of which wire is connected to which terminal.
Step 4: Connect the Wires to the Energy Saver Switch
Connect the wires that you removed from the old switch to the energy saver switch. Make sure you connect the wires to the correct terminals on the energy-saver switch. Use wire nuts to secure the wires in place.
Step 5: Install the Energy Saver Switch
Once you have connected the wires to the energy-saver switch, carefully push the switch back into the wall. Use the screws that came with the energy-saver switch to secure it in place.
Step 6: Turn On the Power
Once you have installed the energy saver switch, turn on the power to the room. Test the switch to make sure it is working properly.
Conclusion
Setting up an energy saver light switch is an easy and cost-effective way to reduce your energy consumption and lower your electricity bills. By following the steps outlined in this article, you can set up an energy saver light switch in your home and start enjoying the benefits of reduced energy consumption.
Sorry, the comment form is closed at this time.