

14 Jan How Do I Cover My Basement Sewer Cleanout?
A sewer cleanout is a vital part of your home’s plumbing system. It provides access to the sewer pipes so blockages can be cleared. The sewer cleanout is usually installed during construction and placed somewhere along the sewer line before it exits the home. For many homeowners, the sewer cleanout access point is located in the basement floor. This allows a drain snake to be fed through the cleanout to clear clogs in the horizontal sewer line leading out of the home.
An exposed sewer cleanout in your finished basement can be unsightly and a tripping hazard. Thankfully, covering your basement sewer cleanout doesn’t have to be complicated. With a few common tools and materials, you can disguise the cleanout access point while still allowing full functionality when needed.
Should You Cover the Basement Sewer Cleanout?
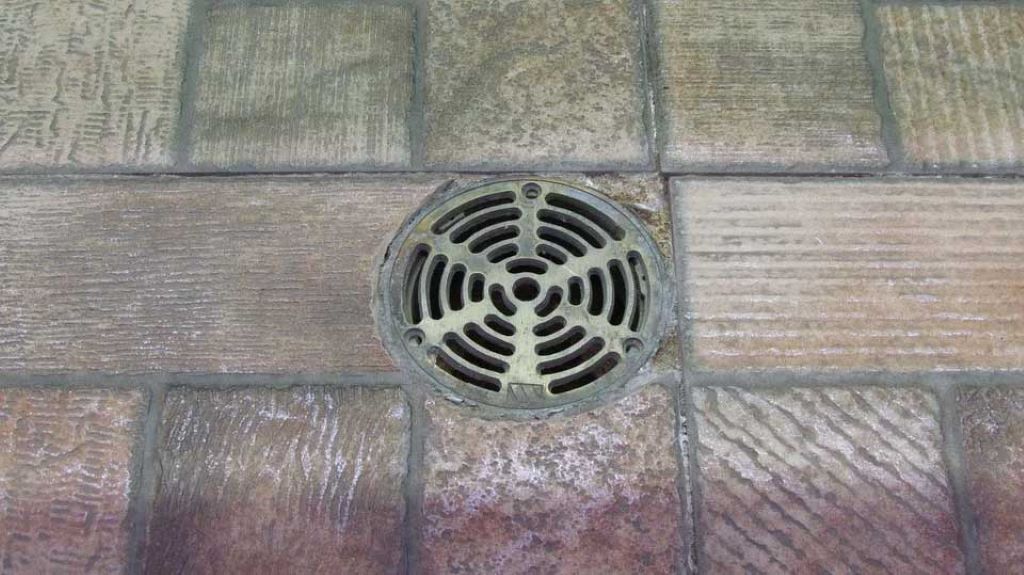
Some homeowners choose to leave their basement sewer cleanout uncovered for easier access. But there are several good reasons to hide it:
- Improved appearance – An open sewer cleanout looks out of place in a nicely finished room. Covering it creates a flush floor surface.
- Reduced odor – An open pipe can allow sewer gas smells to enter the basement. A covered cleanout helps block unpleasant odors.
- Safety – Covering the cleanout eliminates a potential trip hazard and prevents small objects from falling in.
- Noise reduction – Uncovered pipes can amplify gurgling sounds from the sewer line. Adding a cover helps muffle noises.
- Increased property value – Finishing the basement completely makes a home more appealing to potential buyers. A covered cleanout looks more polished.
Ensuring the cover can be easily removed when needed is crucial when concealing the basement sewer cleanout access point. This approach not only provides a tidy and unobtrusive appearance but also allows quick and convenient access for maintenance or emergencies. Homeowners often opt for concealment to enhance the overall aesthetics of their basement spaces. With the addition of features like decorative flooring or furniture, the sewer cleanout in basement seamlessly integrates into the surroundings. It’s important, however, to prioritize accessibility by utilizing coverings or designs that can be effortlessly removed, ensuring that the sewer cleanout remains easily reachable when required.
Choosing a Cover for the Basement Sewer Cleanout
Several options exist for covering a sewer cleanout in a basement. The best choice depends on your specific needs:
PVC Sewer Cleanout Plug
- Simple push-fit PVC plug available at hardware stores.
- Tight fit keeps out odors and debris.
- Requires completely removing the plug to access cleanout.
Threaded PVC Cleanout Plug
- PVC plug with threads to screw in place.
- Creates air-tight seal to contain sewer gases.
- Must be unthreaded completely for drain access.
Sewer Cleanout Lid
- Plastic lid with molded threads to screw into cleanout.
- Hinged lid lifts open for convenient access.
- Usually comes with patch-in vinyl or metal floor flange.
Metal Cleanout Cover
- Round metal lid fits over cleanout opening.
- Lifts off for access to sewer pipe.
- Durable option for high-traffic areas.
Floor Access Hatch
- Larger metal or plastic hatch to cover entire cleanout.
- Better option if flooring is already installed.
- Opens to provide full access without removal.
Be sure to measure the opening diameter of your specific sewer cleanout before purchasing a cover. Covers typically range from 4 inches to 6 inches in diameter.
How to Install the Cover
Once you select the right sewer cleanout cover, installing it is a straightforward process:
Step 1: Clear Debris and Obstructions
First, use a shop vacuum to remove any dirt, dust or debris from inside the sewer cleanout opening. Check for any obstructions that may hinder fitting the cover properly.
Step 2: Dry Fit the New Cover
Test fit your selected cover in the cleanout opening without gluing or sealing it. This lets you check the fit and make any adjustments before permanent installation.
Step 3: Apply Sealant or Gasket
For threaded covers, wrap plumber’s tape around the threads to create a tight seal. For non-threaded covers, apply a bead of silicone adhesive around the lip that contacts the floor. Using a rubber gasket can also help create an air- and water-tight seal.
Step 4: Secure the Cover in Place
If using a threaded cleanout plug or lid, turn it clockwise to screw it into the fitting. Tighten by hand only – avoid using tools to prevent over-tightening. For non-threaded covers, press firmly into the cleanout opening to adhere.
Step 5: Install Floor Flange (If Applicable)
For vinyl or metal flanges, apply adhesive around the underside and position around the cover. Secure with screws if needed.
Step 6: Test Fit with Weight
Check that the cover is secure by gently stepping on it and adding weight. It should not shift or loosen when walked on.
That’s all there is to installing a clean and professional looking sewer cleanout cover! Be sure to only hand-tighten when replacing threaded covers later. Avoid gluing covers shut permanently – they need to be accessible for drain cleaning.
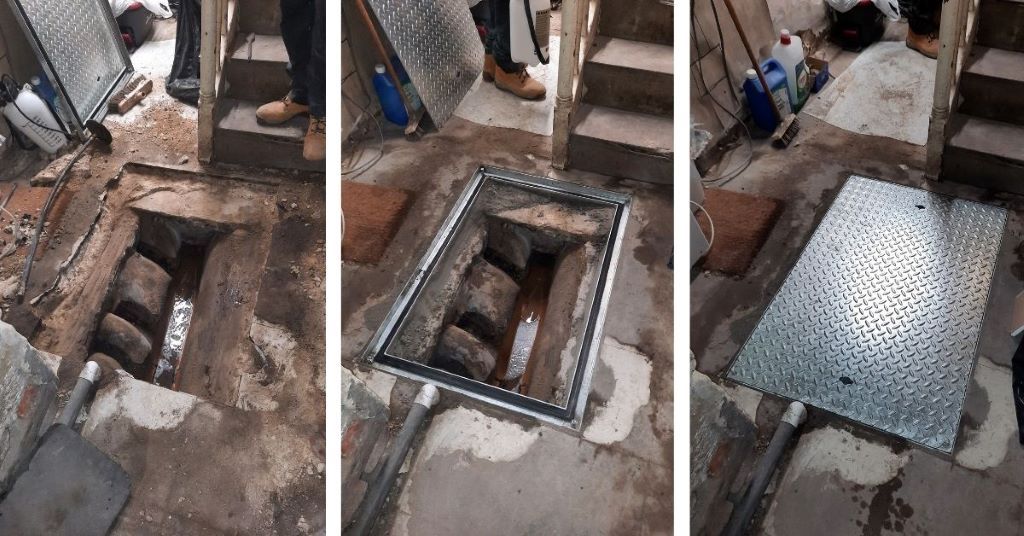
How to Access the Covered Cleanout
The benefit of covering your basement sewer cleanout is quick and easy access when needed. Follow these simple steps:
Locate Floor Markers
Some covers may be flush with the flooring with no visible seams. Look for small marker screws in the flooring that indicate the location. Use a utility knife to score a perimeter outline if needed to find the edges.
Remove Flooring as Needed
For access hatches, unlatch the cover and open it up. For flush covers underneath flooring, carefully cut away vinyl or carpeting around the lid if possible. Remove only what is needed to uncover the lid.
Unscrew a Threaded Cover
Use pliers or a pipe wrench to turn the cover counterclockwise and unthread it. Place the cover aside to access the cleanout opening.
Pull Up a Friction-Fit Cover
Insert a flat pry bar under the edge, then gently pop the lid up out of the cleanout opening. Take care not to damage PVC or ABS plastic covers.
Feed the Drain Snake
Carefully insert your drain snake through the sewer cleanout access point. Extend it to reach clogs, then rotate to clear away debris inside the pipe.
Replace the Cover
When finished, replace the cleanout cover using the same method for removing it. Make sure it seals securely to block odors.
Be sure to take your time and be gentle when removing flooring or prying up the cover. With care, you can maintain full cleanout functionality without damaging the concealing cover.
Finishing the Flooring Around the Cover
The final step is tidying up the flooring once the sewer cleanout cover is installed and tested. Here are some tips:
- For vinyl flooring, use adhesive and a utility knife to cut in tight around the lid edge.
- Seal gaps between lid and flooring with silicone caulk to prevent moisture intrusion.
- Where carpet had to be cut back, stretch it back into place and re-tack it down once the cover is closed.
- Use epoxy filler on any gaps around the lid edge to smooth uneven surfaces.
- Consider placing a welcome mat or area rug over the cover location to hide seams and markings.
- If necessary, replace severely damaged flooring sections for the best concealed appearance.
With some patience and careful workmanship, your covered sewer cleanout will blend seamlessly into the surrounding floor. It will keep your basement looking polished while retaining easy access when needed.
FAQs
1. Does the cleanout pipe need to vent to work properly?
The sewer cleanout provides access to the pipes, but is not needed for venting. The main sewer vent stack elsewhere in the home provides air circulation in the system. The cleanout only needs to be accessible and can be completely sealed.
2. How often does the cleanout need to be accessed?
Most homeowners rarely need to open the cleanout. It may only be accessed once every few years if there is a stubborn clog or blockage. Reasonable access a couple times per year is sufficient.
3. What are signs the cleanout needs to be opened up?
Slow drains, gurgling sounds, and sewer gas odors coming from the covered location indicate there may be a clog. Lifting the cover to snake the drain may be required.
4. Can I glue, cement, or permanently seal my cleanout cover?
No, gluing or permanently sealing the cleanout is unsafe and violates plumbing codes. The cover must be accessible without breaking or damaging the surrounding floor.
5. What if I can’t find my basement cleanout location?
If unsure, trace incoming and outgoing sewer pipes to determine where they join. Contacting a professional plumber to locate the basement cleanout is recommended if you cannot find it.
In Conclusion
Covering over an eyesore of an open sewer cleanout in your basement is a great way to add value and appeal to a finished space. With the right materials and some careful work, the cleanout can be concealed and seamlessly blended into the floor. When considering how to replace an old basement window, prioritize retaining quick and easy access to this important utility for addressing plumbing issues. If uncertain, consult a professional plumber for advice and assistance, ensuring the installation of the ideal sewer cleanout cover.
Sorry, the comment form is closed at this time.